JoyFrog Controller Coding with Kittenblock
Kittenblock Coding Tutorial

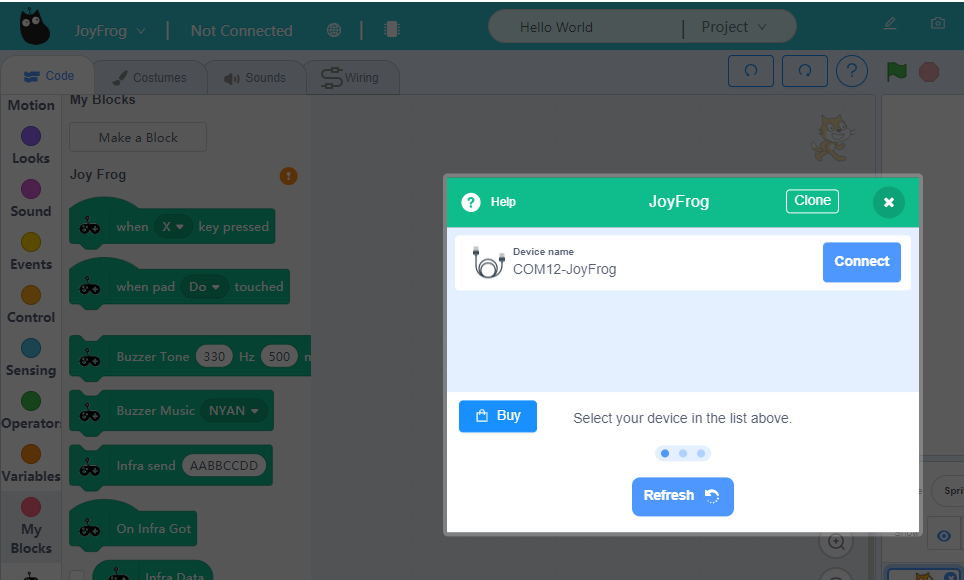
Connect JoyFrog to a computer with a USB cable.
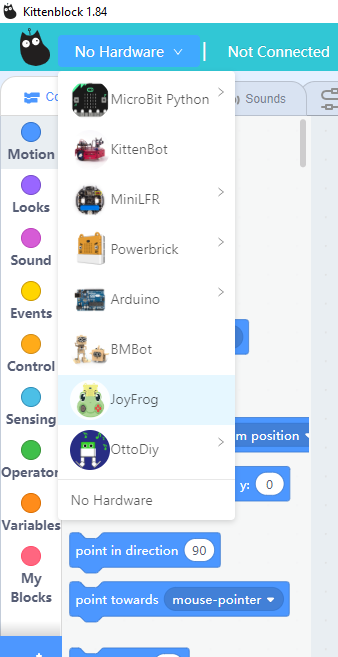
Select JoyFrog from the Hardware selection menu.
The programming blocks for JoyFrog will be added.
Click the Exclamation Mark Icon and select your device.
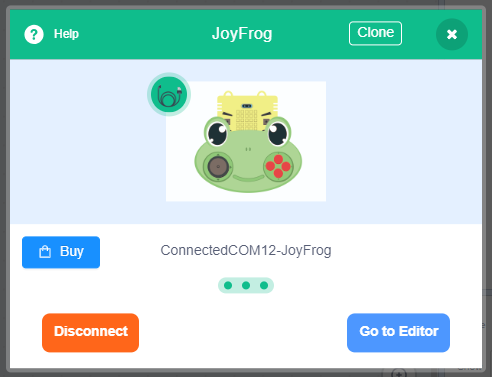
A melody will sound when JoyFrog is connected to Kittenblock.
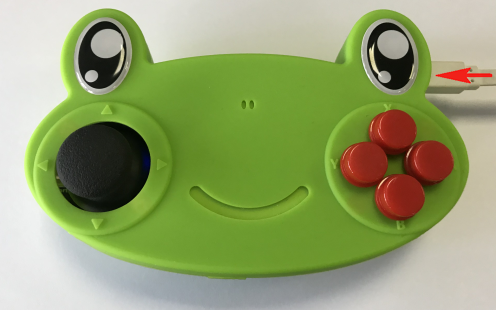
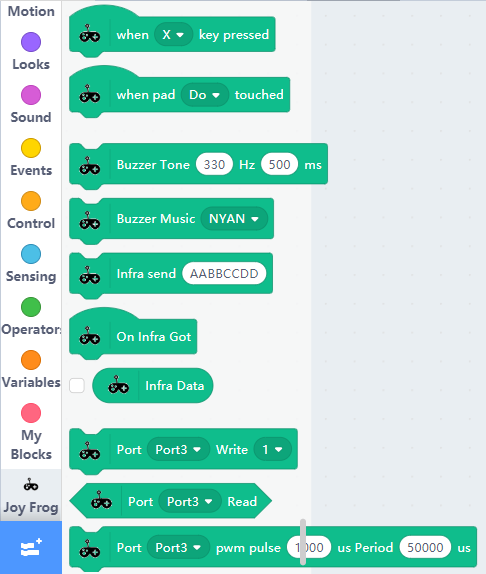
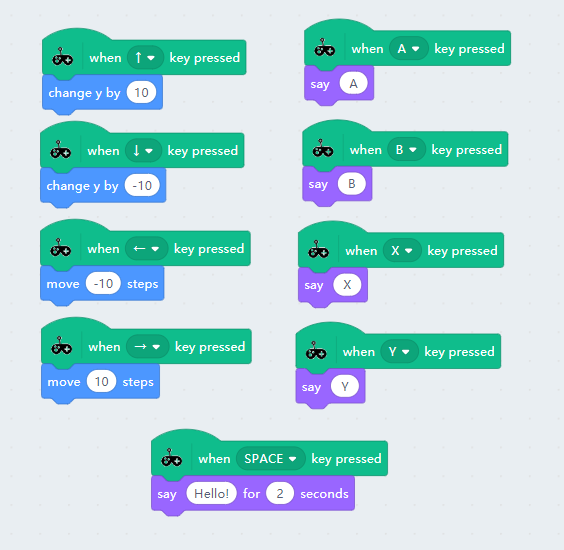
Using the buttons and the joystick.
The buttons and the joystick input is mapped to individual keyboard keys.
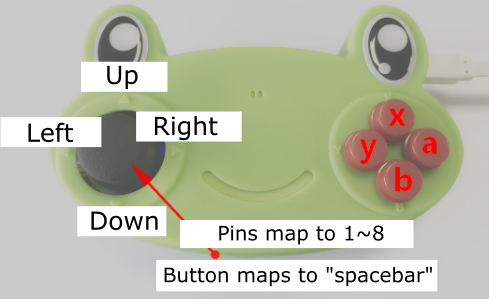
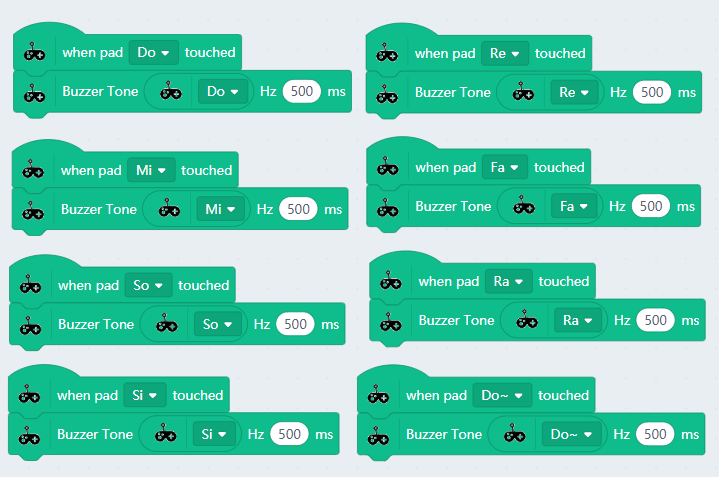
The edge connectors are mapped to the number keys.
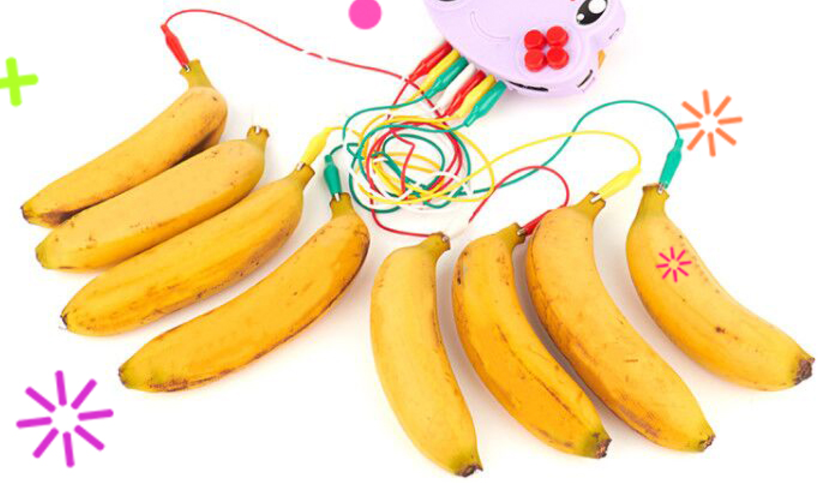
Making a Piano:
We can make a basic piano using the edge connectors.
Try connecting different conductive objects to create your own unique keyboard!
The notes correspond to numbers 1~8.
You can connect earphones or speakers to the 3.5mm audio jack.
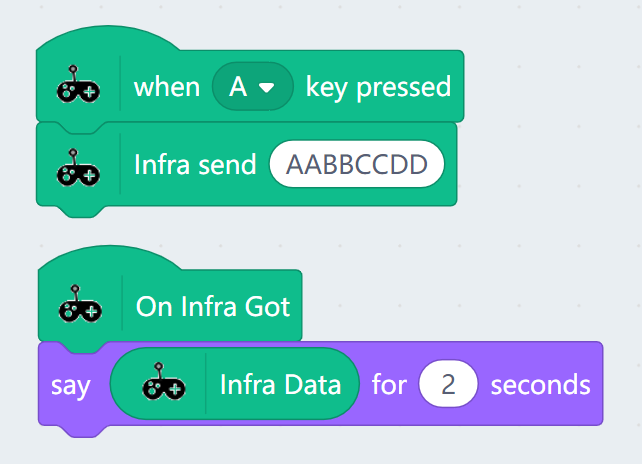
InfraRed Trasmission and Receive:
Transmitting and receiving an infrared signal.
The infrared signals are in a hexadecimal format.
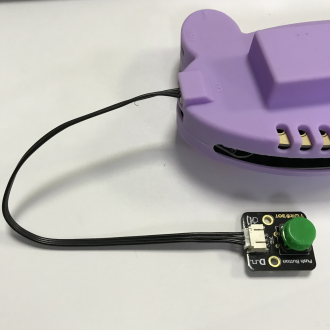
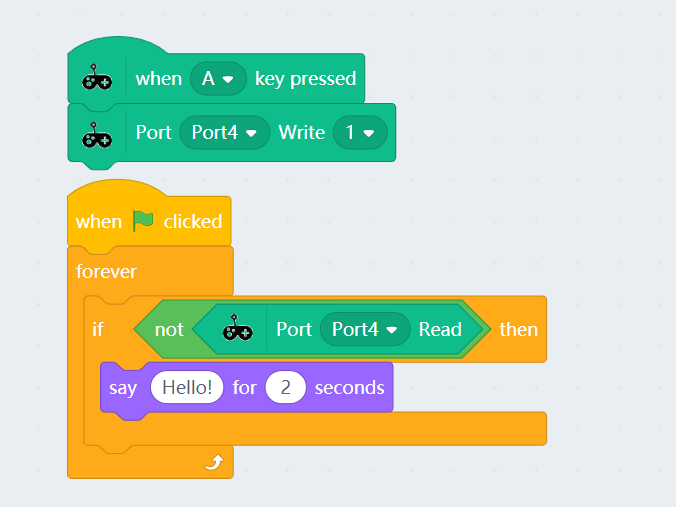
Digital read and write:
Reading and writing digital values.
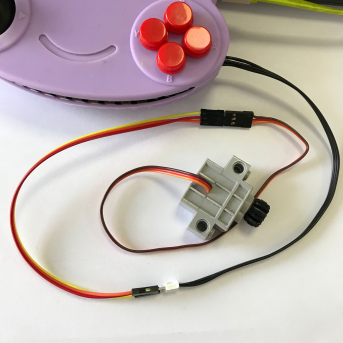
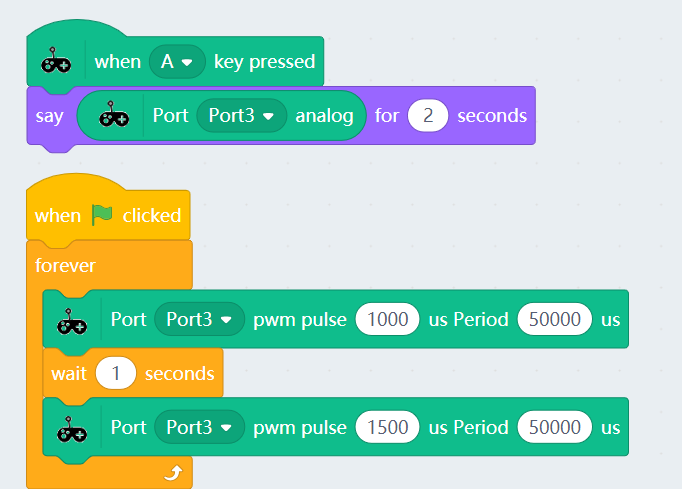
Analog read and write:
Reading and writing analog(PWM) values.