Armourbit Extension Box
Armourbit Extension Box (HKBD9006A)
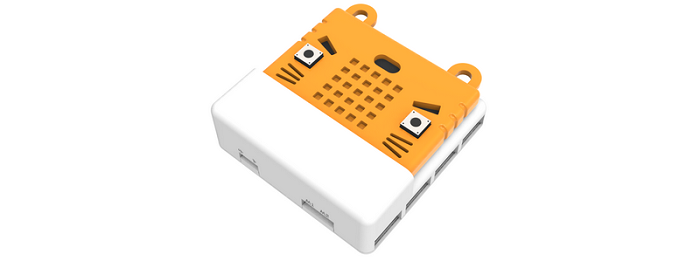
Similar to robotbit, Armourbit is an Extension module for Micro:bit, due to its boxy shape, it is called an Extension box.
Armourbit is the main control hub for the Powerbrick system, connecting the Micro:bit with various “bricks”.
It has the following features:
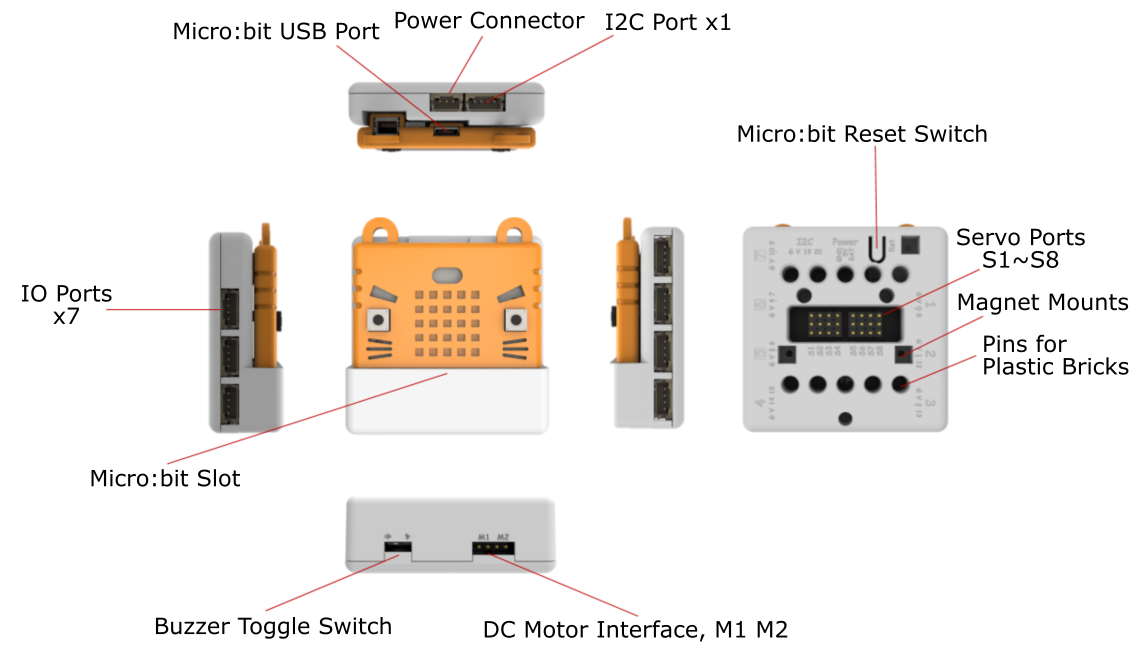
7 IO Ports and 1 I2C port
Uses 4Pin PH2.0 ports, ensures correct connection
Built-in buzzer and 2 motor ports
8 servo ports
Complete encasing of the circuit board, improves safety and makes it more suiable for an education environment.
Developers at Kittenbot hopes to provide a way to expand the usability of Micro:bit while also improving safety, making teaching and learning easier for teachers and students.
Details
Specification
Voltage: 3.3V(No 5V output)
Dimensions: 61mm X 61mm X 23mm
Interface: PH2.0 4PIN Ports , follows the GVAB pinout
DC Motor Driver: Voltage<5V, current<1A, compatible with Kittenbot’s motors
Servo Drivr: Voltage 3.7~6V, current<100mA for 1 servo, total current<1A, compatible with Kittenbot’s servos
Microsoft MakeCode Programming Platform:
Makecode Online:https://makecode.microbit.org/
Powerbrick Extension:https://github.com/KittenBot/pxt-powerbrick
Pin Distribution
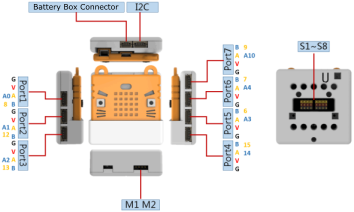
It is not necessary for new users to remember the corresponding pins for each port, it is sufficient to remember the 7 ports.
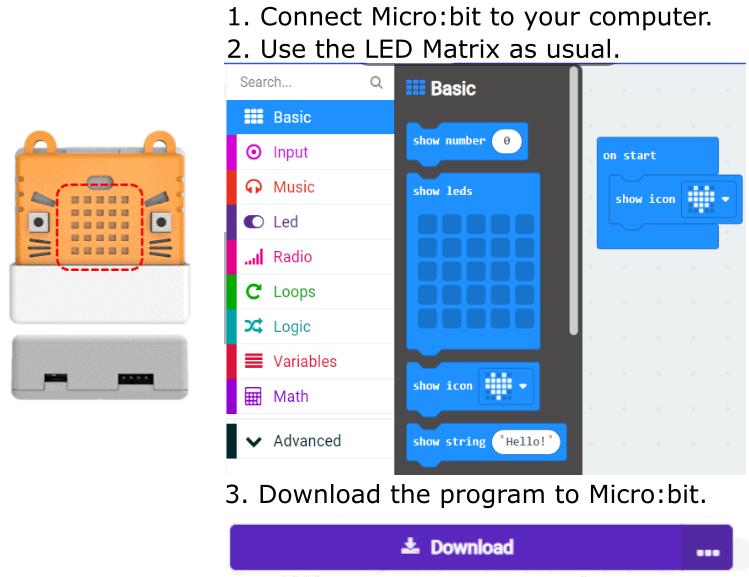
Using Port5-Port7 requires turning off the LED Matrix of the Micro:bit since these Ports are used by Micro:bit’s LED Matrix(Refer to the following figure).
Analog modules cannot use Port 4 (Moisture and Water Sensor can’t be used)

Precautions
The Servo Interface is intended to use with 9g servos or Geekservo servos, high current servos should not be used.
The DC motor Interface is intended to use with Kittenbot’s TT motors or Geekservo motors, hight current motors should not be used.
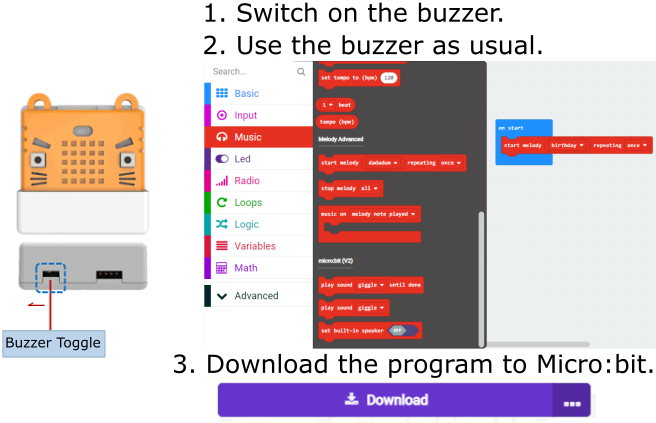
The built-in buzzer uses Pin 0 of the Micro:bit, please make sure the toggle switch is at the correct position when Pin 0(Port 1) is being used. (Buzzer is set to ON by default)
The PowerBrick Battery Box must be connected when modules, servos or motors are being used or they may exhibit erratic behaviour.
Installing Micro:bit onto Armourbit
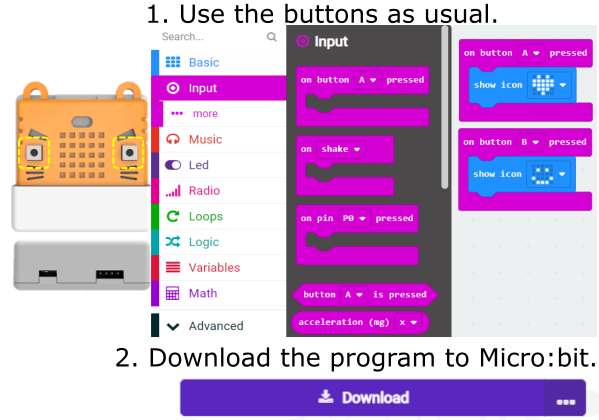
Slot in the Micro:bit with the A and B buttons facing outwards.
Checking the buzzer toggle switch.
Resetting the Micro:bit’s program
Power on the Micro:bit.
Press the button on the back of the Armourbit to reset the Micro:bit.
MakeCode Coding Tutorial

Using the LED Matrix
Same with Micro:bit.
Using the Buzzer
Same with Micro:bit.
Extension Version and Updates
There may be updates to extensions periodically, please refer to the following link to update/downgrade your extension.
