Wifibrick
Wifibrick (HKBM8012O)
Introduction
Wifibrick is an expansion module for Kittenbot’s Powerbrick.
As the name suggests, this module provides a method for Micro:bit to connect to the internet, allowing it to connect to various IoT platforms such as ThingSpeak, MakerCloud or OneNet.
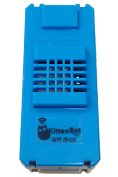
Appearance-wise, it is largely identical to the Temperature and Humidity Module, with the exception of a logo printed on the Wifibrick.

Specifications
Voltage: 3.3-5V
Current: ~65mA
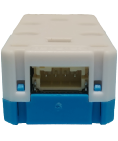
Dimensions: 56 (L) x 25 (W) x 20 (H)
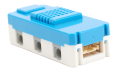
Connector: 4Pin PH2.0
Supports STA/AP/STA+AP
Supports Smart Config
Special Features
Micro:bit compatible Wifi modules are rare in the market, therefore Kittenbot has developed the firmware and MakeCode extension.
With a built-in indicator LED, connection status can be read.
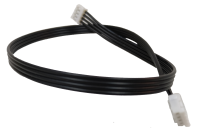
The PH2.0 Cable prevents incorrect connection.

Lego Pin connectors are installed into the sides and the back of the module, making it very easy to integrate into different models.
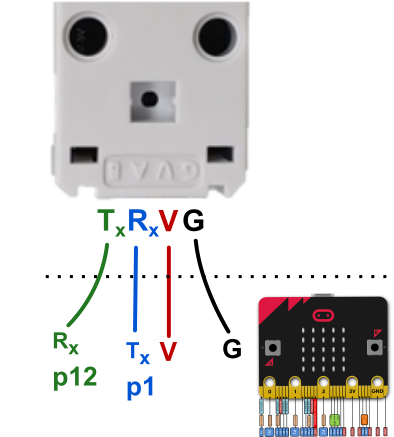
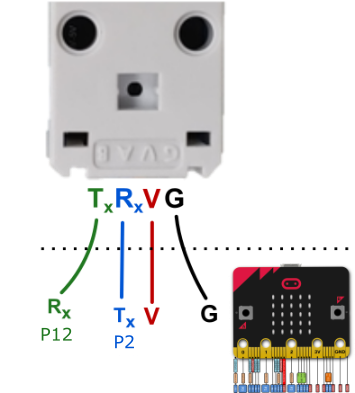
Pin out Explaination
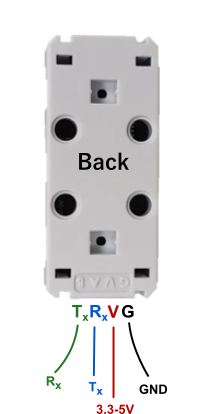
On the back of the WifiBrick, the pin out is labelled as G, V, A, B.
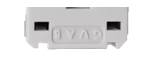
The functions of the 4 pins are as follows:
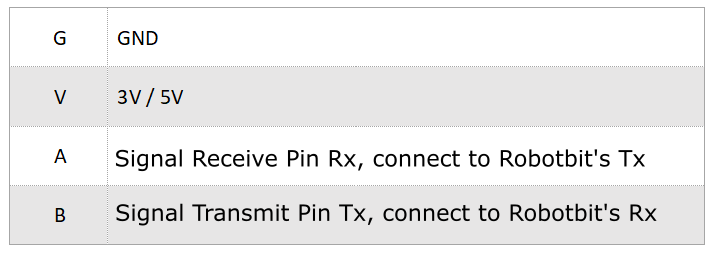
Tx = Transmit(Tx) Data
Rx = Receive(Rx) Data
Connecting the module
There are numerous ways to connect the Wifibrick to a Micro:bit, it is recommended to use Kittenbot’s expansion boards.
Details are as follows:
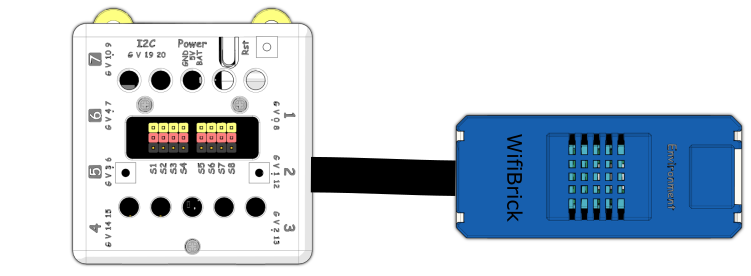
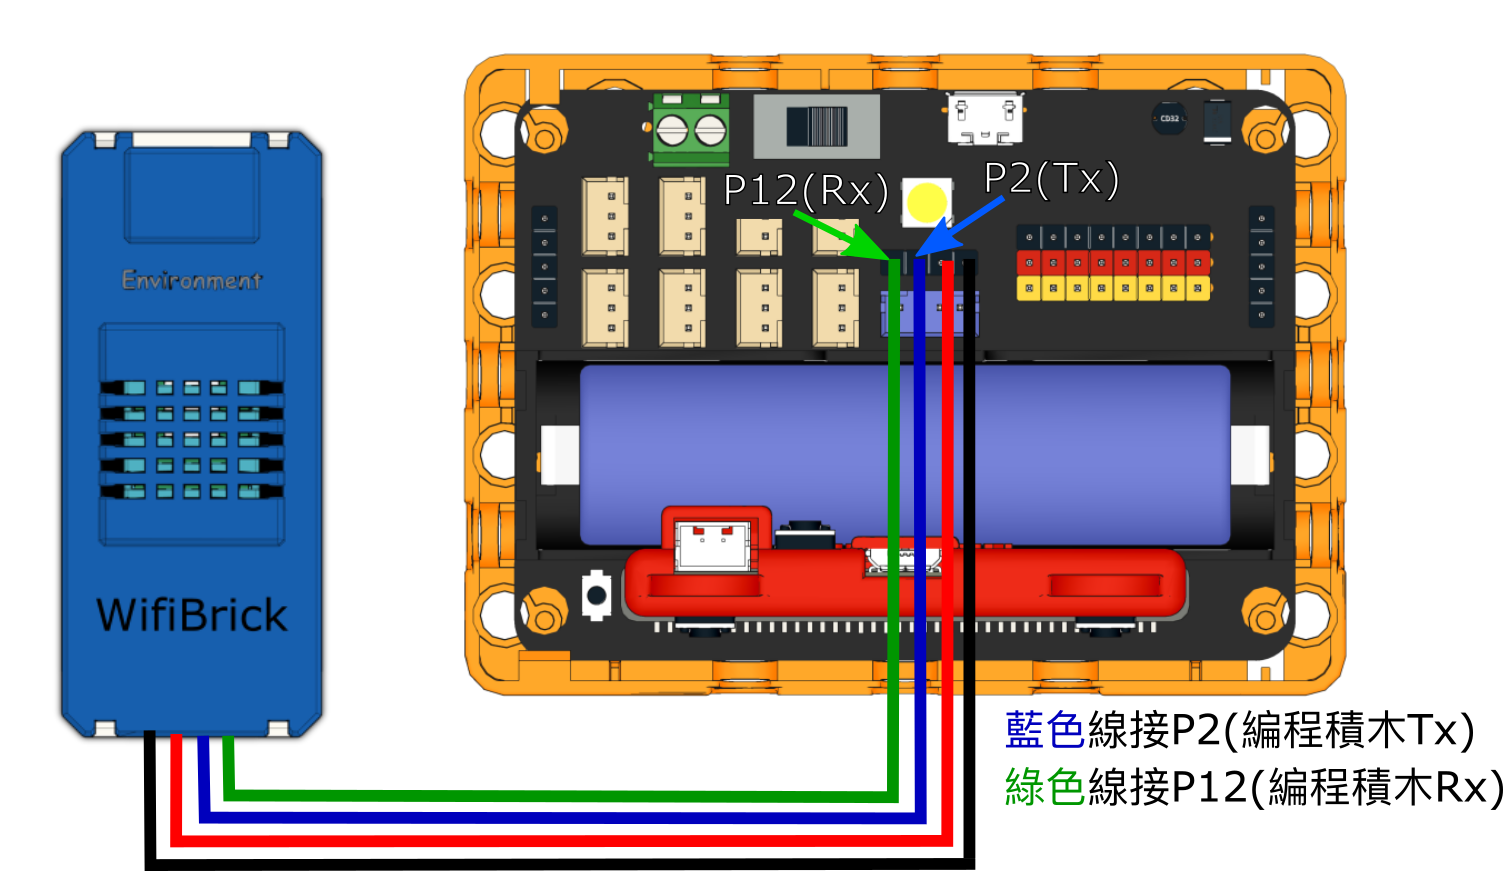
Armourbit
Armourbit is an expansion box designed for Micro:bit. Wifibrick can be connected to Armourbit using a 4Pin cable.
The 2 ends of the cable are both PH2.0.
Connect Wifibrick to the Port 1(Requires turning off the buzzer) to Port 4 of the Armourbit using the cable.
In this figure, Port 2 is used, this corresponds to P1 and P12 of the Micro:bit.
Wiring Details:
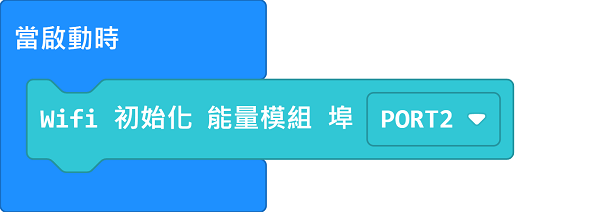
In MakeCode programming, choose Armourbit Port.
Robotbit Edu
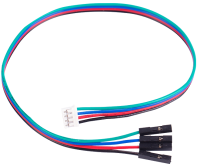
Using a PH2.0 to Dupont Cable, connect the Dupont pins to the Serial Port on Robotbit Edu.
In this figure, Pin 2 and Pin 12 is used.
Select P2 as Tx and P12 as Rx in MakeCode programming.

Wiring Details:
Robotbit 2.2
Robotbit is a popular Micro:bit expansion board by Kittenbot, it supports a wide variety of modules including Wifibrick.
Using a PH2.0 to Dupont Cable, connect the Dupont pins to G, V and 2 signal pins on the Robotbit.
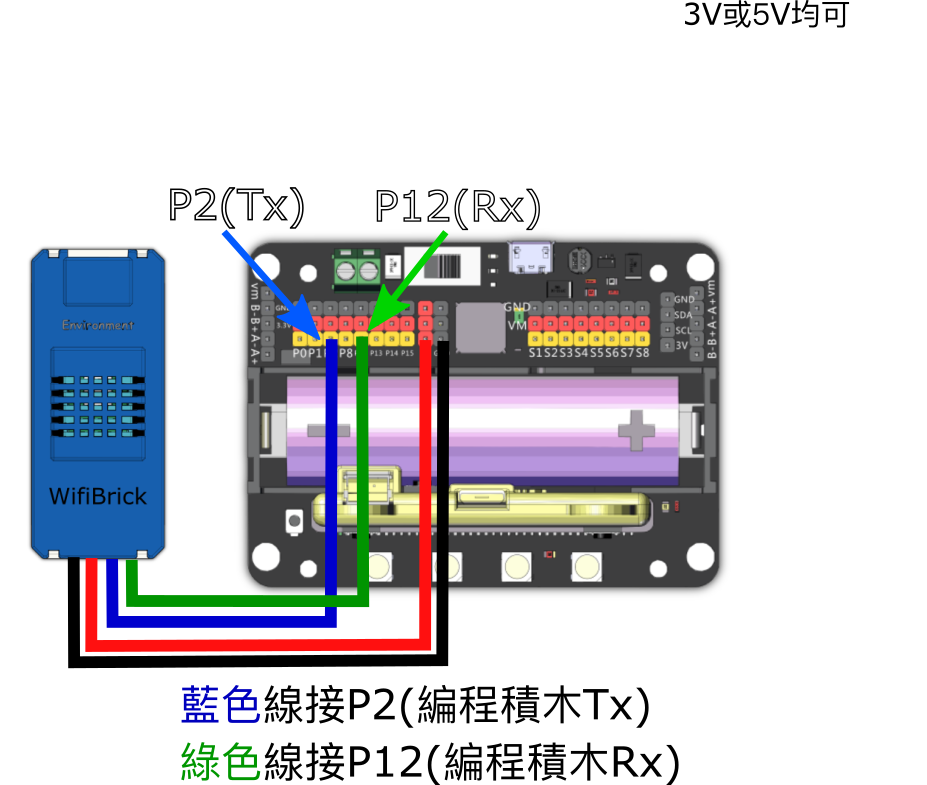
In this figure, Pin 2 and Pin 12 is used.
Select P2 as Tx and P12 as Rx in MakeCode programming.
Wiring Details:
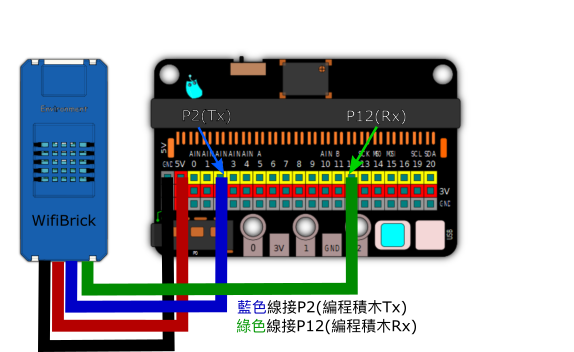
IoBit
IoBit is a basic Micro:bit extension board by Kittenbot, Wifibrick is supported on this board.
The connection method is identical to Robotbit. Using a PH2.0 to Dupont Cable, connect the Dupont pins to G, V and 2 signal pins on the IoBit.
In this figure, Pin 2 and Pin 12 is used.
Programming Tutorials
WifiBrick Programming Tutorials for different platforms are available in the following segment.
WifiBrick Indicator
The Red light turns on when Wifibrick is powered on.

A Blue light will flash when connecting to the WiFi.

All lights will turn off when the above is done.

A green light turns on when it is connected to the MQTT platform.
